Page Contents:
Securing your Zoom Meetings
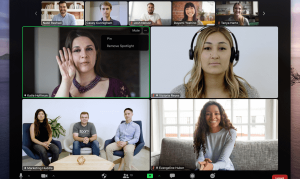
the basic Zoom Meeting Controls
How to Join a Meeting
How to Schedule a Meeting
Configuring Audio and Video
Using Breakout Rooms
Screen Sharing
Using Polls
Accessibility Options
Streaming your Meetings
Recording your Meetings
Zoom Feature Request page
Additional Training and Support Materials
Securing your Zoom Meetings
The most important things you can do: attend trainings and practice using Zoom. Grab a co-worker, a family member, or a friend and experiment. Push the platform to its limits. Ask questions, watch YouTube videos, read blog posts - and then practice some more. Below are resources that can lead you in the right direction.
The suggestions below will tighten the security for your Zoom meetings. You can click on any topic to expand the section for more information.
Enable & Use the Waiting Room.
- Documentation from the Zoom Support site: Using the Waiting Room.
- The waiting room allows the meeting host(s) to see who is entering the meeting and needs to approve these participants.
- If an uninvited person is trying to enter a specific meeting with malicious intents, they will often wait indefinitely to see if the host(s) will eventually mistakenly allow them in.
- If an uninvited person is randomly trying to connect to meetings with malicious intent, they will often only wait a minute or two in a waiting room. If not allowed in, they will move on to other meetings.
- If you see a name that you do not recognize in the waiting room, the best defense is to not allow them in. Send a message (through the Chat) asking the user to disconnect, change their name, and try re-connecting to the meeting.
- In your settings (https://zoom.us/profile/setting) make sure the Waiting Room is enabled and the options are as you want them.
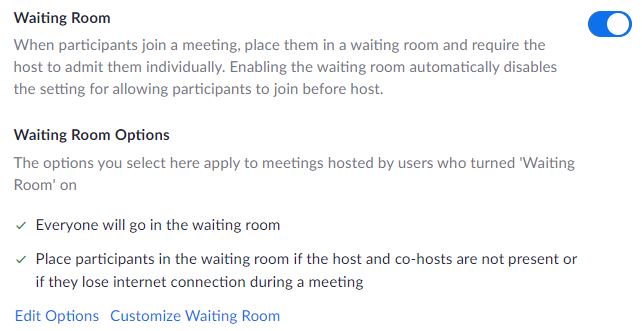
- Also, when scheduling a meeting make sure you double-check that Waiting Room is checked.
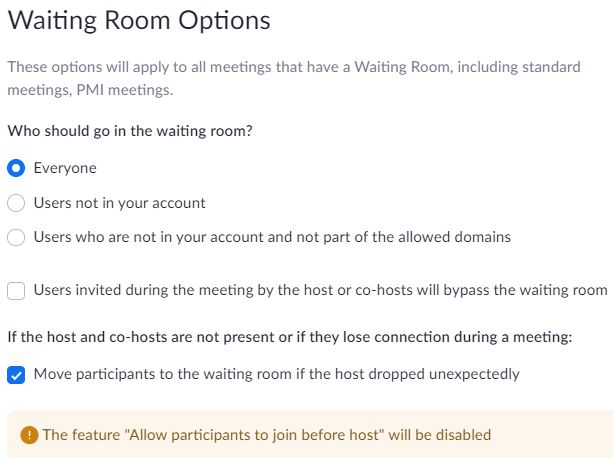
Disable the Join Before Host feature
- This option is disabled for most districts by default. The rationale is that *if* a host were to lose internet connection, the meeting could continue and a random attendee would become the host. If you are hosting meetings with trusted adults this setting is not as important. (To avoid being sent back to the Waiting Room, if there are multiple adults in the room you should designate one as the co-host once the meeting starts.)
- Configure this in your Waiting Room options:
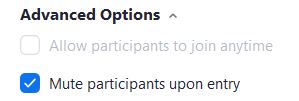
Enable mute participants on entry
- This can be set as a default in your account settings:

- This can also be set when scheduling a meeting:
- from the Zoom website:

- or from the Zoom app:
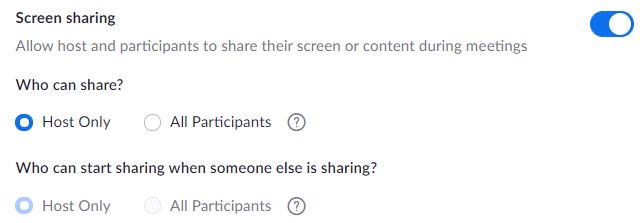
Manage Screen Sharing: Control who can share
- Documentation from the Zoom Support site: Sharing your Screen
- Controlling who can share their screen (and/or audio) is one of the most important security settings available to Zoom users.
- In your settings, choose "Host Only". You can change this once the meeting starts.
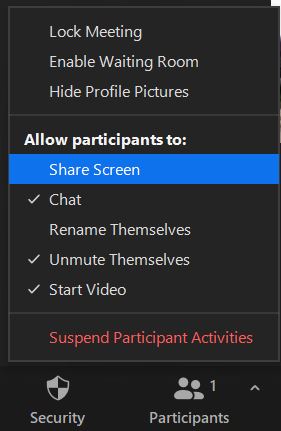
- In a meeting, this is controlled in the Security area:
- There is currently no way to limit screen sharing to one individual unless you make that person a co-host - which opens up a lot of other security vulnerabilities. Best practice is to not allow screen sharing until you know that everyone in the meeting belongs there. Or change your security settings as soon as the screen sharing session ends.
- Note: if you are using Breakout Rooms and you want to allow the participants to be able to share their screens in those rooms, you will need to enable this option in the main meeting room.
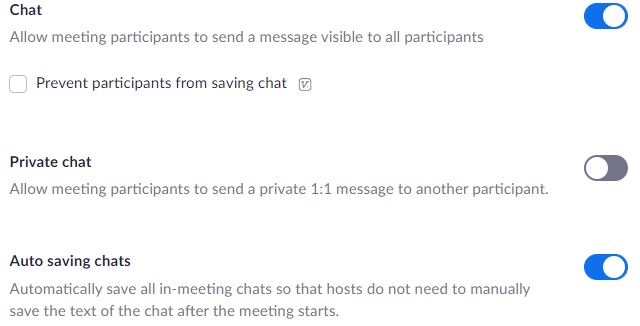
Manage the chat by controlling who can chat
- Documentation from the Zoom Support site: Using the Chat feature
- Chat functionality is extremely important to manage in a meeting. If you allow participants to chat with one another directly, the host cannot see those chats. If a student receives inappropriate chat content (with this option enabled) they will need to screenshot the chat message immediately - before the meeting ends - so that there is proof.
- Set your base level in your Account Settings. You will be able to limit chat to a stronger level in your meetings, but you cannot relax the settings beyond what your base level is.
For example
- if your base settings are "chat disabled", you cannot turn chat on in a meeting.
- if your base settings allow users to "chat" but the Private Chat is disabled, you will not be able to change that setting to allow them direct private messages in a meeting
- If you allow "private chat" in your default settings, you can limit the participants to any (more strict) controls in a meeting. However, if you forget to change this setting your participants will be able to message anyone they want privately or publically.
- Once in a meeting, chat is controlled in two places:
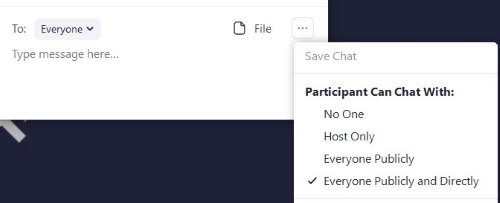
- In the Chat "Box"
- Open the Chat box from the bottom of the screen.

In the box that opens, you can control the level of chat when clicking on the ellipses (...) in the bottom corner:
- From the Security Box
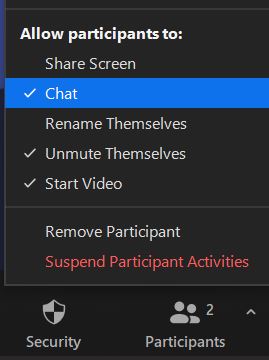
This will turn all chat on or off.- If you disable chat and later re-enable it, it will default to your base settings. Try to use this as an emergency chat toggle switch; when possible, manage the chat options in the Chat Box as described above.
Protect meetings with a Passcode
Turn file transfer off
Do not publicly post meeting information
Manage Participants
Lock the meeting
Avoid using the Personal Meeting ID to host public meetings. Generate a new meeting ID
Disable the ability for participants to record.
Password Protect all Recordings
- Store recordings to a secure location.
- If recording to the Zoom cloud, the recording should be password protected or available only to your organization.
Basic Meeting Controls
How to Join a Meeting
How to Schedule a Meeting
Configuring Audio and Video
Using Breakout Rooms
Screen Sharing Options
Using Polls
Accessibility Options
Streaming your Meetings
Recording your Meetings
Zoom Feature Requests
Do you have an idea that could make your Zoom experiences more productive or effective? The GST BOCES E-Learning Service has been offered the opportunity to gather ideas from the region and submit them to the Zoom Educational Development Team for consideration.
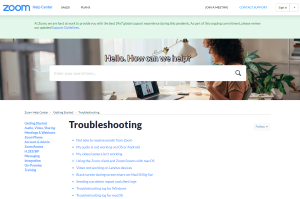
Additional Training and Troubleshooting